
How to Fix Aluminium TIG Welding Issues
Aluminium TIG welding is known for being one of the toughest skills to master. What looks like a clean, simple metal often leads to problems such as oxide layers, burn-through, porosity, and contamination. In this guide, we’ll break down the most common aluminium TIG welding issues and show you proven techniques to fix defects and achieve strong, professional-looking welds.
The first thing that makes life difficult for most people who are learning is the subject of the aluminium oxide. This thin, hard layer melts at a much higher temperature than the aluminium underneath, which means if you don’t remove it properly, your weld puddle will won't be cleared off and this will make adding filler material and forming a clean puddle nearly impossible.
Machine settings and cleaning and joint prep might feel boring, but it’s the foundation of every strong aluminium weld.
Proper balance settings on your machine when welding on AC polarity is essential when learning how to tig weld aluminum, this is a setting that clears off this oxide when the puddle is established. Combined with wire brushing with a stainless steel brush, this will help to clear off this oxide and potential contamination, and expose a clean puddle that is much easier to feed filler into and manipulate during welding.
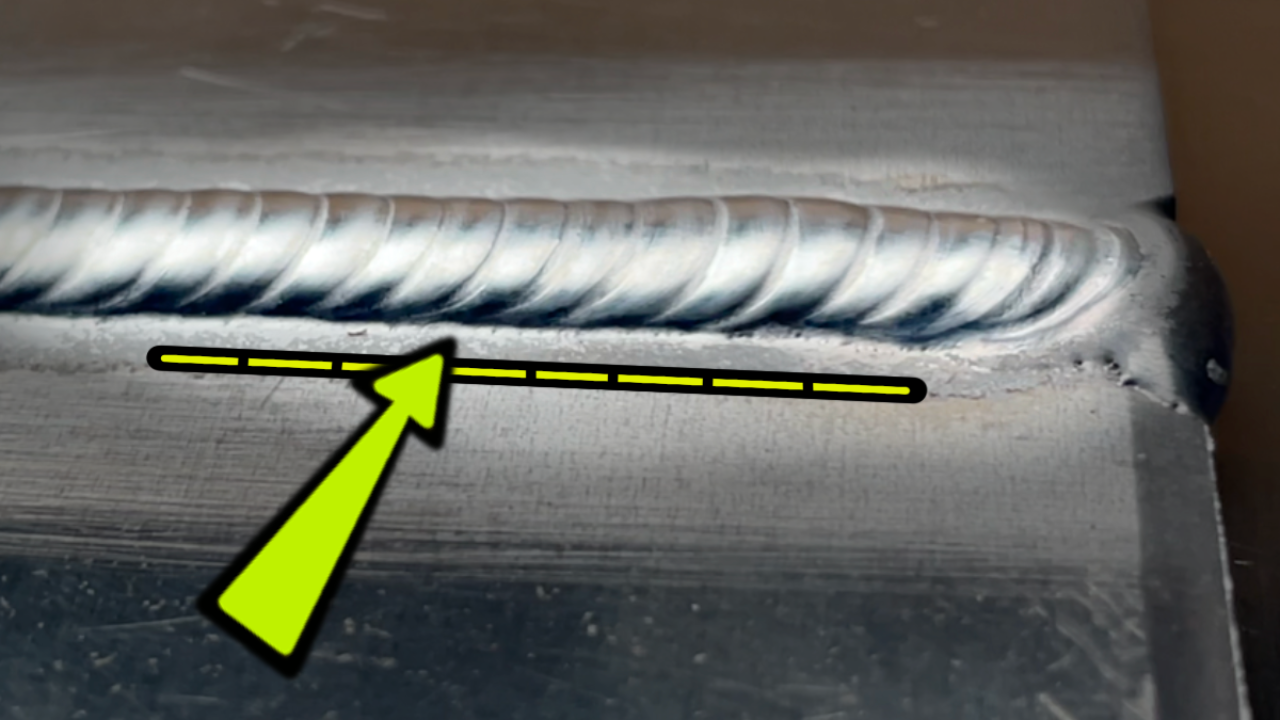
Porosity in Aluminium Welds
Another big issue is porosity. This shows up as tiny pinholes or bubbles in the weld bead. It weakens the weld and makes it look messy. Porosity is almost always caused by contamination — either in your base metal, filler rod, or shielding gas coverage.A clean weld zone and proper shielding gas coverage will keep porosity from wrecking your aluminium welds. Using a tried and tested decontaminate will help to ensure proper preparation of your welding pieces, combined with wire brushing, wiping your pieces with a clean rag and an Acetone solution usually does the trick to remove grease, oils, or grubby fingerprints. Between proper wire brushing and using a solution to decontaminate, you should remove most of the issues that can contribute to porosity ruining your day.
Excessive or incorrect gas settings can also contribute to this occurring from time to time, so be sure to follow a setup for gas volume that ensures you are using the correct amount of gas flow for the joint, as well as amperage you are welding.
Addressing contamination as well as gas volume will be a great way to ensure that you don't have welds that look like Swiss Cheese when you finish them. Take the time to prepare and setup correctly for what you're doing!
Heat Control and Distortion
Aluminium conducts heat incredibly fast. That means your part can go from “not hot enough” to “blown straight through” in a matter of seconds. This is why so many new welders struggle to control puddle size or deal with parts warping out of shape.
The more comfortable you get with feathering your pedal and controlling travel speed, the cleaner your beads will look.
Don't always go by "the book" of what your material thickness requires for amperage. Start with practice passes on similar scrap. Each joint configuration, each welding position and pretty much each scenario will change up the amperage that is required, so running practice passes and monitoring closely with the foot pedal will help to keep the heat in control.
I also have several other really smart practice exercises to help develop an understanding of controlling this heat, you can check those out in my actual TEXTBOOK here. This book also covers settings for amperage and gas volume for each individual practice lesson you do.
Cracking in Aluminium Welds
Cracking is another common problem, especially with certain filler metals. Aluminium contracts a lot when it cools, and if your weld is too brittle or under tension, it can split as it solidifies.
Matching the filler rod to the job and managing heat input goes a long way in preventing cracks.
Lack of Fusion
Finally, one of the biggest issues with aluminium TIG welding is lack of fusion. Because aluminium heats so fast, it’s easy to accidentally ride the puddle on top without tying into the base metal. This leaves a bead that looks okay but will show signs of incomplete fusion to the base metal.
Insufficient heat, excessive filler material, or incorrect travel speed can contribute to these problems, but if you get these boxes checked your weld will stand a much better chance for good fusion. This gives your welds strength and durability, so it’s worth taking the time to slow down and focus.
Are you having an of these issues? Don't worry we have all been there before...
If you want to take your skills even further, my new Fundamentals of TIG Welding Textbook has just come out — Grab Your Copy Here and set yourself up with the knowledge you need to weld with confidence.
Fill & Chill,
Dusty.
Download your exclusive Beginner's Guide to Aluminum TIG Welding!
Enter your information below to receive exclusive PDF mini-textbook straight to your email.
We hate SPAM. We will never sell your information, for any reason.
