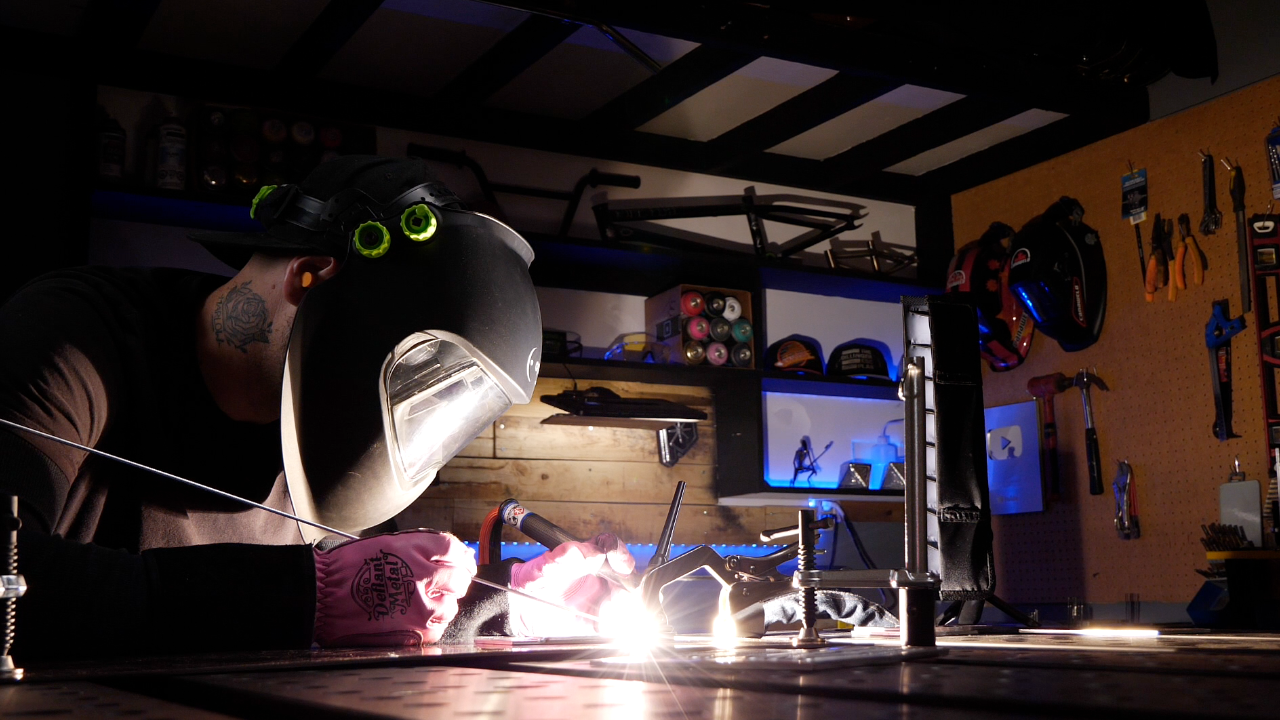
The TIG Foot Pedal: Why Beginners Struggle With It
If you've ever watched someone TIG weld in person, one of the first things you notice is the foot pedal. They're dancing on it the whole time: feathering it up, easing it back, barely touching it at the end of a run. It looks effortless.
Time for you try it, and suddenly you can't think about your torch angle, your filler rod AND your foot on the pedal at the same time. Something burns through, you barely get any penetration, or the bead starts fat and ends ugly because your heat was all over the place.
Sound familiar? Don't stress. The foot pedal is genuinely one of the hardest parts of TIG welding to learn, and almost nobody talks about why. Let's fix that.
What the Foot Pedal Actually Does
Your TIG foot pedal controls amperage, which basically means it controls heat. Press it all the way down and you're at full power. Ease off and you're reducing the heat going into the metal.
On most machines, you set a maximum amperage on the machine itself, and the pedal controls how much of that you're actually using at any given moment. So if your machine is set to 100 amps and your pedal is at half, you're putting about 50 amps into the weld.
This is completely different from MIG or stick welding, where you set your heat and go. TIG gives you real-time control, which is incredibly powerful but it also means there's a whole extra variable to manage while you're trying to weld.
Why Beginners Struggle With It
Most beginners fall into one of two traps:
Trap 1: Planting the pedal and leaving it there
This is the most common one. You hit full amperage, put the pedal to the floor, and leave it. This works okay in the middle of a run but causes problems at the start (you can melt a hole before the puddle establishes) and at the end (you crater, crack, or blow through as the metal gets hotter).
Metal heats up as you weld. A setting that's perfect for the start of a weld will be too hot by the end of a long run, especially on thin material. The pedal is how you compensate for that heat build-up.
Trap 2: Overcorrecting constantly
The other extreme is being so focused on the pedal that you're feathering it all over the place: mashing it, backing off too much, mashing it again. The result is an uneven bead with inconsistent penetration because your heat is spiking up and down.
Good pedal control is smooth and gradual, not jerky. Think of it like a car accelerator - smooth inputs, not stomping and releasing.
How to Actually Use It Well
Start with your machine set higher than you think you need
This sounds counterintuitive, but set your max amperage a bit higher than the recommended setting for your material thickness. This gives you more room to work with the pedal. If your machine is set right at the edge of what the material needs, your pedal has no headroom and you end up fully floored the whole time, which defeats the purpose.
A good rule of thumb: set your machine to roughly 1 amp per thousandth of an inch of material thickness (so 1/8" steel = ~125 amps as your max), then use the pedal to dial in the actual heat as you go.
Ease in at the start
When you first strike the arc, don't go straight to full power. Start at around 60–70% pedal and let the puddle establish before you commit to full heat. Once you see the puddle form and flow nicely, you can push a little more if needed.
Back off gradually as you go
On anything longer than a couple of inches, you'll notice the metal getting hotter the longer you weld. Start consciously easing the pedal back as you approach the end of a run. By the time you get to the last half-inch, you should be backing off noticeably.
Tail out at the end
Craters at the end of a weld bead are a classic TIG problem. As you finish, gradually ease the pedal right back rather than cutting off abruptly. This lets the puddle shrink and solidify cleanly instead of leaving a dip or crack. On some machines there's a "downslope" setting that does this automatically, but learning to do it manually with the pedal is a better skill to develop.
A Drill That Actually Helps
Here's an exercise that makes a huge difference: practise using the pedal without actually welding anything.
Set your machine up, put on your helmet, and just run the torch across a piece of scrap steel without adding filler. Focus entirely on keeping the pedal smooth and consistent. Watch the puddle: does it stay the same size from start to finish? If it's growing, ease the pedal back. If it's shrinking, push a little more.
Do this until you can run a consistent puddle for six inches without it changing size, then add the filler rod. Breaking it into separate skills and mastering them one at a time is way faster and eventually more successful than trying to coordinate everything at once.
What About Thin Material?
Thin material (anything under about 2mm) is where foot pedal control really earns its keep. On thin material you might start your run at 40 amps and finish at 20 amps because the metal heats up so fast. If you're not riding the pedal actively, you'll burn through.
The trick with thin material is to use shorter runs and let the metal cool between passes if needed. There's no shame in stopping, letting the metal cool for 30 seconds, and starting again. It's much better than blowing a hole and having to fix it.
One Thing That Helps Immediately
If you're really struggling with coordination, try this: prop your heel on a fixed point and pivot your foot from the heel rather than lifting your whole foot up and down. This gives you much finer control and stops you from accidentally slamming the pedal or losing contact with it entirely. Most experienced TIG welders do this instinctively; it's one of those tiny things nobody tells you.
The Bottom Line
The foot pedal is what makes TIG welding feel alive. Once it clicks, you'll wonder how you ever welded without real-time heat control. But it takes time, and the best way to get there is to isolate it as a skill and practise it deliberately.
Don't try to learn the pedal, the torch, the filler rod, and your travel speed all at once. Break it down. Nail the puddle without filler, then add the filler, then worry about making it look pretty. Layer the skills and it all comes together faster than you'd expect.
Stick with it! The pedal goes from your biggest frustration to your best friend pretty quickly once it starts making sense.
Download your exclusive Beginner's Guide to Aluminum TIG Welding!
Enter your information below to receive exclusive PDF mini-textbook straight to your email.
We hate SPAM. We will never sell your information, for any reason.