
The 3 BEST SETTINGS To Start Tig Welding
Let’s talk TIG settings. Because if they’re off, you’re in for a frustrating time. The welds turn out bad, the tungsten gets crusty, and you’ll be left wondering if the machine’s broken or if it’s just you (don't get discouraged, it’s probably the settings).
Every time I post welds online, the same question pops up: “What settings did you use?”
Fair question, but here’s the thing—every machine behaves differently. What works on mine will not translate directly to yours. But I can help you understand the why, and once you’ve got that, you can dial in anything.
Let’s walk through three critical settings: amperage, balance (for aluminum), and post flow.
Amperage: The Heat Input
Amperage controls how much heat you’re dumping into the welding area. Sounds simple—but it’s affected by joint type, material thickness, filler size, torch angle, and even your machine’s brand.
You could set 150 amps and get wildly different results depending on whether you’re welding an outside corner, a fillet joint, or vertical uphill.
Dusty’s Rule of Thumb:
-
Always give yourself headroom. Set your machine above what you think you’ll need.
-
Use a foot pedal to control it during the weld.
Example: If I think I’ll use 130 amps, I’ll set the machine at 140-160. That way I can back off or push more heat if I need it.
How to Dial It In:
-
Run a test pass.
-
If the weld isn’t tying in—edges are cold or undercut—increase amps in 10-amp increments.
-
When you get close, you can even fine-tune in 5-point increments.
Start low, then work up until you get clean edge fusion and a solid puddle.
Balance: The Aluminum Trick
If you’re welding aluminum on AC, balance is your best friend—and it’s also one of the most misunderstood settings.
What Balance Does:
-
AC current alternates between DC+ and DC-
-
DC+ = cleaning
-
DC- = penetration
Too much positive (cleaning), and your tungsten gets wrecked. Too much negative (penetration), and your weld surface looks dull and sandy.
Start at:
-
80% EN (penetration)
-
20% EP (cleaning)
From there, make small tweaks:
-
Go more positive if the oxide isn’t getting cleaned off or your welding has a dull or sandy appearance.
-
Go more negative if your tungsten is wobbling or becoming misshapen.
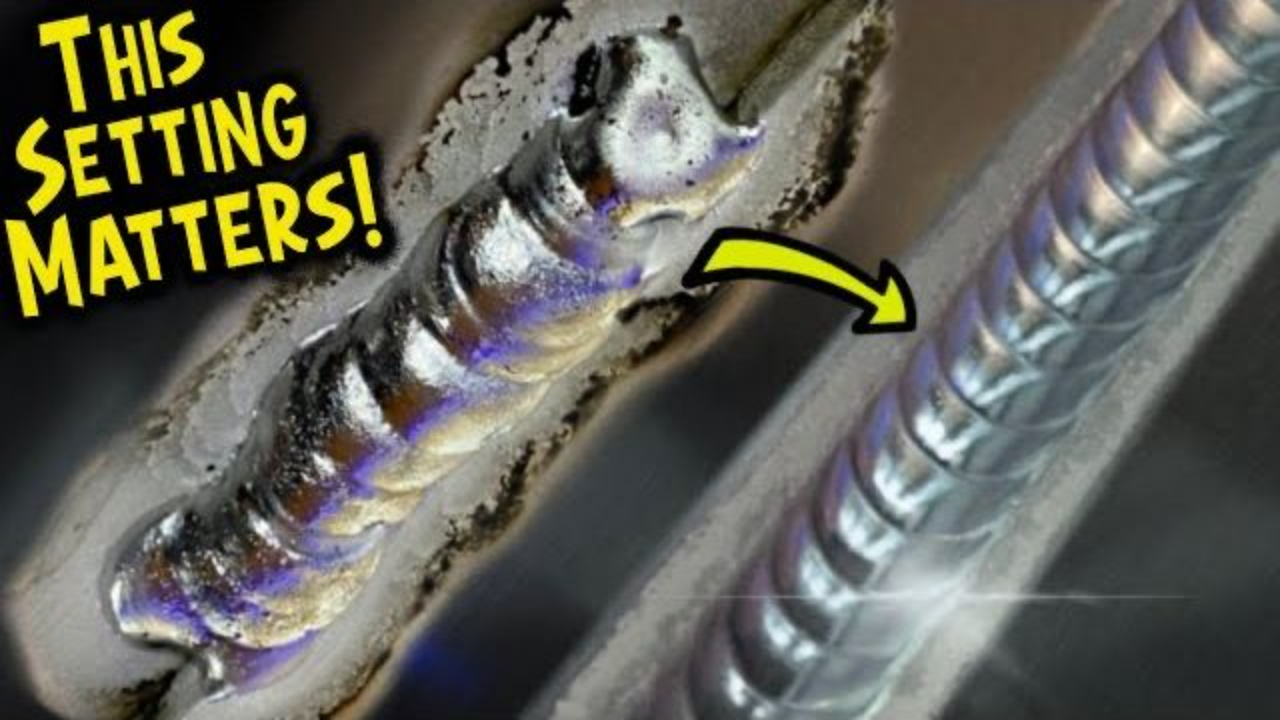
Pro Tip: Your tungsten should be shiny and reflective after the weld. If it’s dull, chalky, or blackened—you need to tweak your balance.
Post Flow: Protect Your Tungsten!
Post flow keeps argon flowing after the arc stops. It protects your tungsten while it cools.
If you pull your torch away too early, the tungsten gets exposed to the air we breath while it’s still glowing red hot. That means contamination. You’ll see it on the next arc start—crusty tungsten, unstable arc, and a puff of dirty stuff that gets blasted into the start of your next weld.
Best Practice:
-
Stay put when you finish the weld. Keep the torch steady.
-
Let the post flow finish cycling. This should shut off around 2 seconds AFTER your tungsten finishes glowing red hot.
Recommended Setting:
-
8–9 seconds post flow
If your tungsten is coming out dull, up it by a second or two.
Aluminum Note: You don’t need as much post flow as with stainless or steel, but it still matters. Don’t cut it too short.
Final Tips
-
Clean material = better welds. Wipe with acetone, then brush.
-
Let your tungsten cool fully under post flow.
-
Practice adjustments on scrap.
-
Every machine is different. Use these as starting points, not gospel.
Understanding these three settings will save you a ton of frustration. They’re the foundation of consistent, clean TIG welds.
Want to go deeper? I break this all down in my online TIG programs. We teach not just the what, but the why. If you're ready to build real skill, Check Them Out Here
Dusty.
Download your exclusive Beginner's Guide to Aluminum TIG Welding!
Enter your information below to receive exclusive PDF mini-textbook straight to your email.
We hate SPAM. We will never sell your information, for any reason.
