
The #1 TIG Welding Exercise That Fixes Arc Control
If your TIG arc seems to wander, flicker, or jump to an edge the second you hit the pedal, you're not alone. Arc control on aluminum can feel slippery, especially on outside corners where the heat doesn't have much material to soak into.
This one exercise pulls together the real skills that actually make your arc precise: setup, prep, tacking, torch distance, pedal control, and smart weld direction. Sure, machine settings do matter, but they don't replace fundamentals.
Why this aluminum TIG challenge is so hard (but so useful)
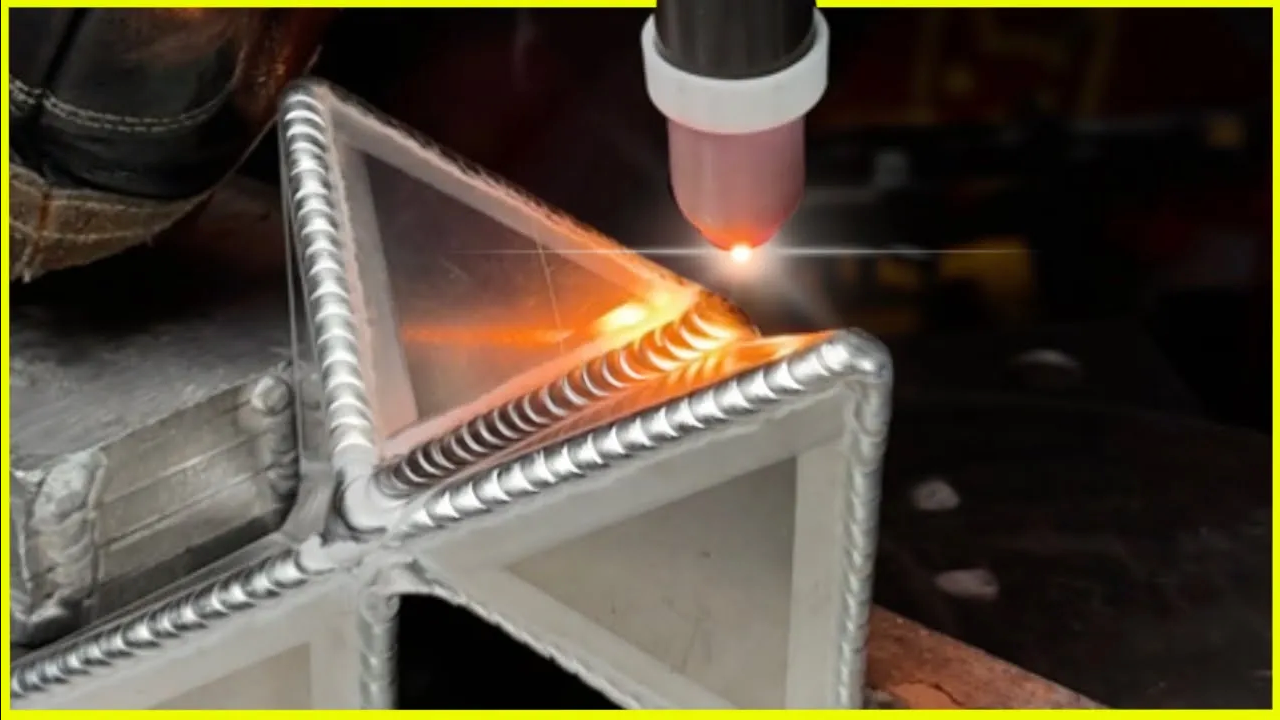
This project is a perfect storm for practicing control. You're welding mostly outside corners on tapered pieces, so the amount of base material under your puddle keeps changing. That means heat builds fast in some spots, then disappears in others. It's the kind of thing that can make a welder feel clumsy.
 The biggest win here is that practicing this exercise feels like real work. It forces you to solve the same problems you'll see on actual parts during day-to-day jobs:
- Changing heat sink from joint to joint
- Tight corners and awkward torch angles
- Starts and stops that can't be messy
- Puddle control on edges that want to melt away
What makes arc precision so tricky on corners
Arc starts can get wild here. If you hit the pedal too hard, too fast, the arc can favor one side of the corner, then the puddle opens up lopsided. Once that happens, you end up chasing it instead of controlling it.
About the "final settings" for this project
This exercise does use fine-tuned machine settings, but the key takeaway stays the same: control comes from the way you start, hold distance, and manage heat. The settings get dialled in as the project comes together in the video.
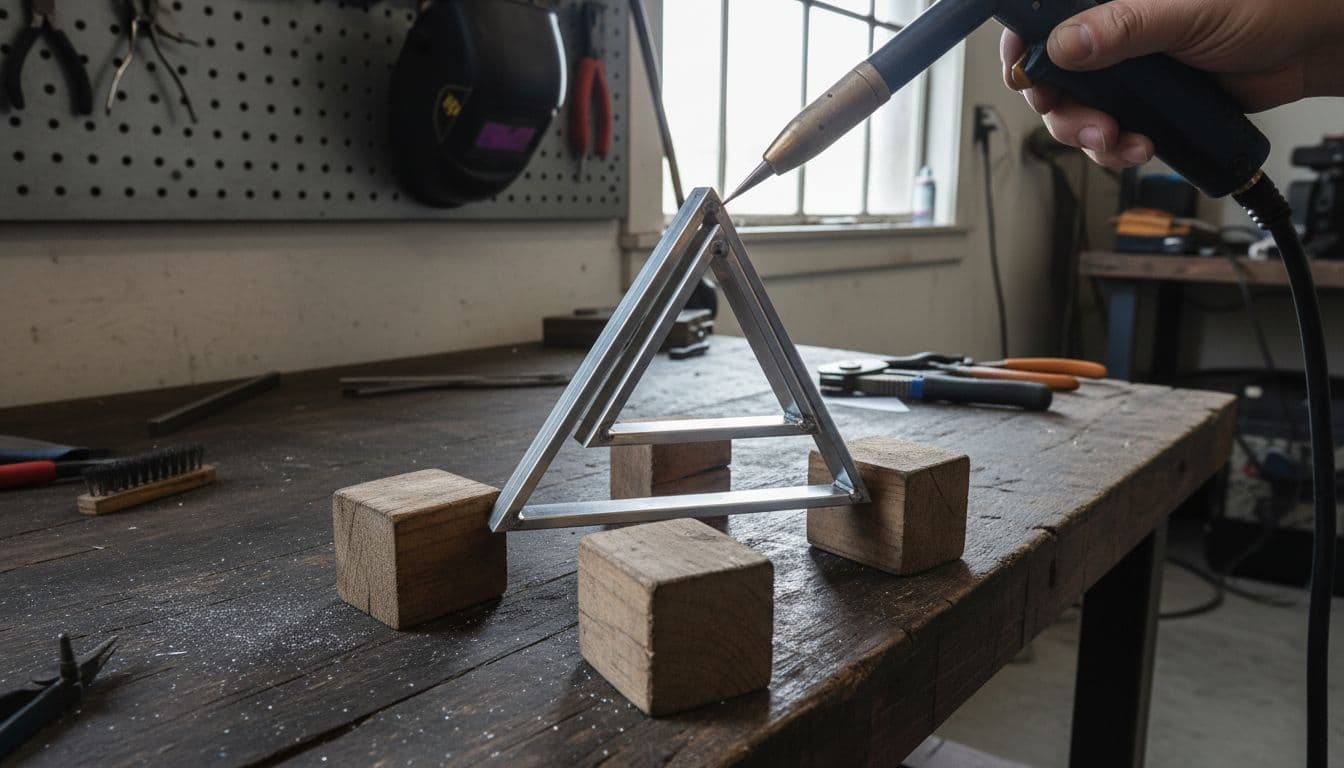
Use prop blocks to lock in stability and better angles
Good welding starts with not fighting the part. Small prop blocks let you position the project so your hands can relax and your torch angle stays steady. I use these blocks all the time because they solve several problems at once.
 A stable setup helps because:
- It keeps the piece from rocking while you tack and weld.
- It improves hand positioning, so the torch stays planted.
- It makes feeding filler more comfortable, especially on long passes.
Why this setup feels like real-world TIG work
In the shop, you rarely get a perfect bench-height joint with perfect access. Propping and positioning is part of the job. This exercise builds that habit early, so you don't panic when a joint feels awkward later.
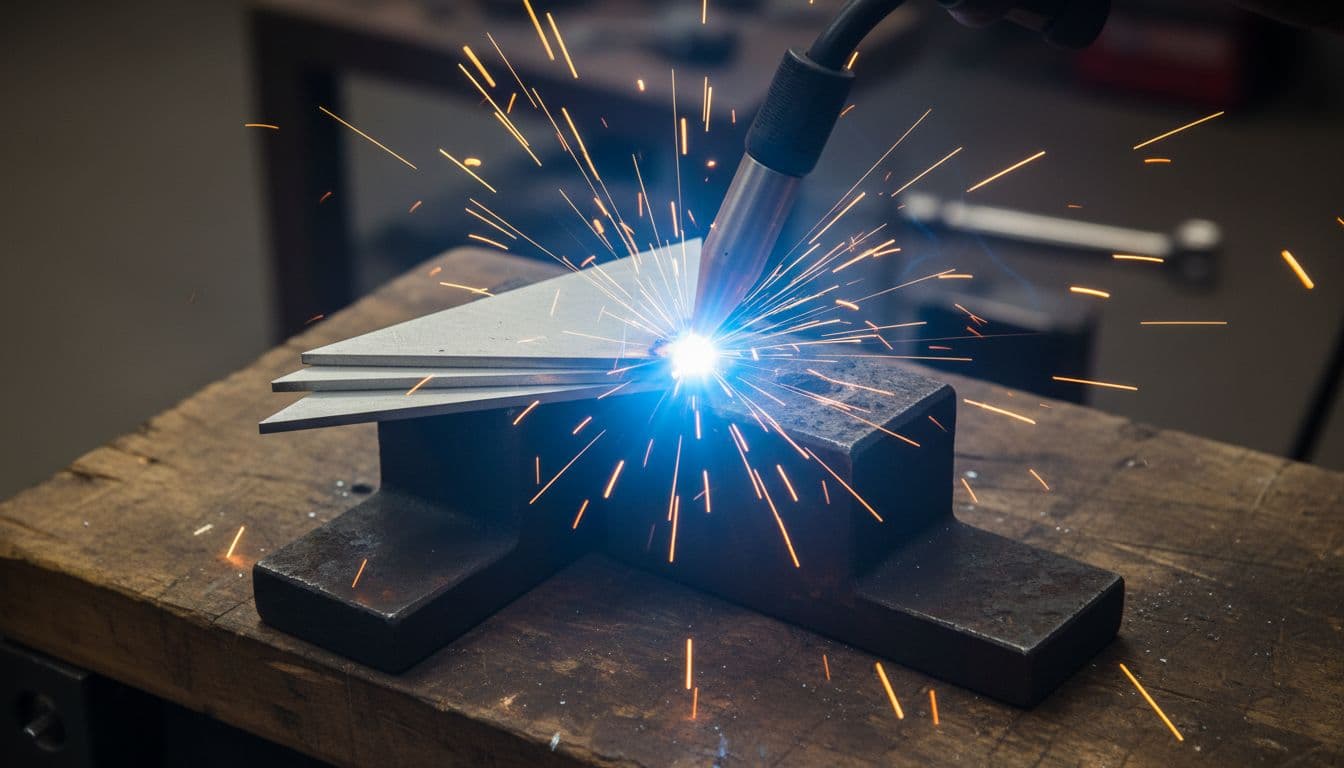
Slow, controlled arc starts are the whole game
A clean start sets the tone for the entire pass. On this project, "arcing on slow" is the move because it lets you place the puddle exactly where you want it, before heat gets out of hand.
If you blast the pedal right away, you don't "get more control." You usually get a puddle that spreads too wide and pulls to one side.
Here's the basic approach that keeps starts predictable:
- Start with a slow, steady pedal input so the arc doesn't dance around.
- Keep the arc from flickering side-to-side by staying calm and close.
- Let the puddle form where you want it, then add filler once it's stable.
The common start mistake that creates lopsided welds
Too much heat too fast can smack the puddle open. Then the weld gets oversized or uneven, and it's hard to bring it back. On outside corners, that problem gets worse because there's less surrounding material to hold shape.
Standoff distance: stay close to focus the puddle
Torch distance matters on every TIG weld, but it's extra important on aluminum corners. Keep nice and close with your tungsten to the workpiece. That tight standoff helps lock the puddle in place and keeps the arc focused.
When the arc stays tight, your bead tends to stay tight too. You also get more predictable cleaning action and less wandering at the edge.
Tough angles make distance control even harder
As you move around the piece, the joint shape and heat sink change. No two areas weld the same. That's why this exercise is so effective: it forces you to adjust without losing your basic torch discipline.
Joint prep and alignment decide how hard this will be
If your fit-up is off, you're starting the weld with a handicap. On a project full of outside corners, poor prep can make things feel nearly impossible. Clean, tight alignment gives you a joint that "wants" to weld straight.
This build puts a spotlight on careful prep:
- Lay out and cut the pieces precisely.
- Detail the edges so they're straight, with no ragged spots.
- Clean and decontaminate before welding, and again after tacking.
Extremely important is your preparation. Prep is where you decide if the welding stage will feel calm or chaotic.
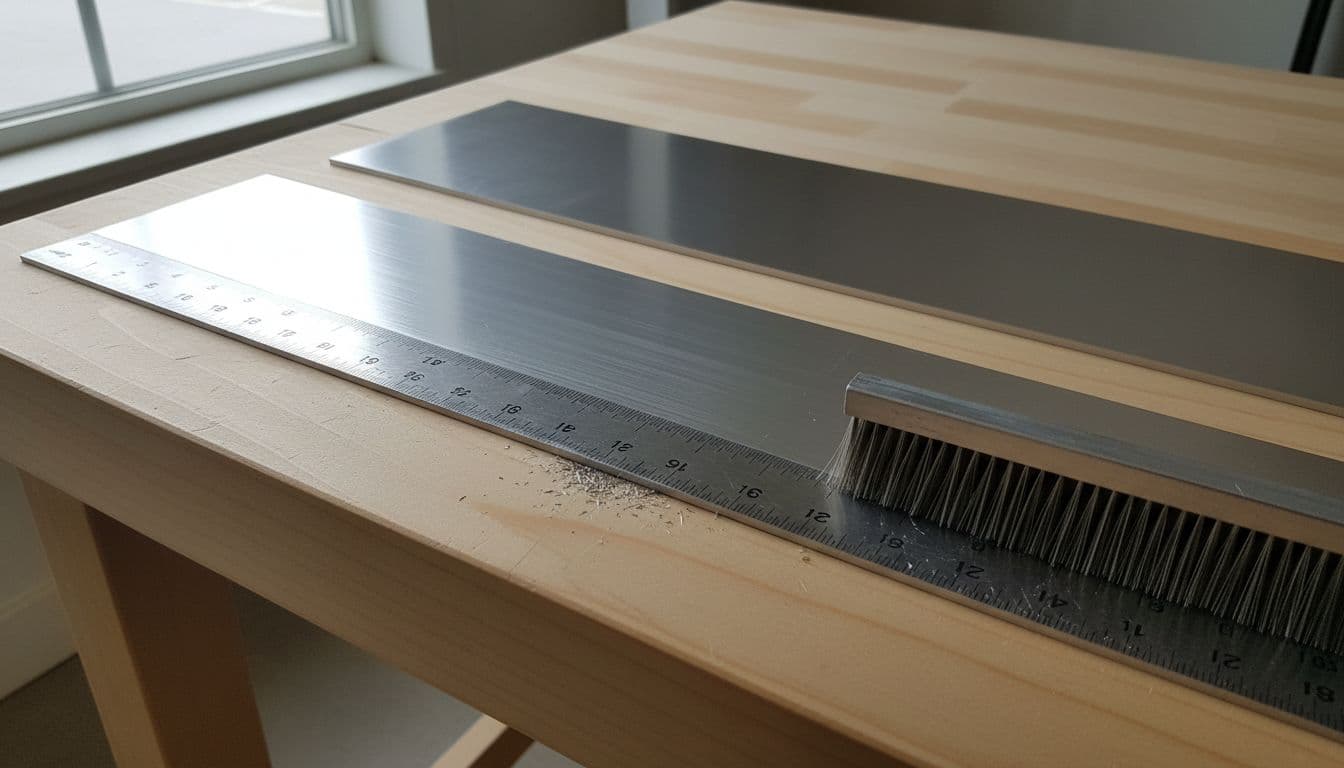 ### Wire brushing that looks clean, not scratched up
Brushing isn't just "scrub it and go." Brushing in one direction helps the finish look intentional. Using a ruler as a guide keeps the brushed area crisp and detailed, instead of random scratch marks all over the part.
Strategic tacking: hold it together without creating obstacles
Tacking is its own skill on projects like this. You need the part locked together, but you also need your tacks to stay out of your way once you start running beads.
Don't put tacks in the middle of a pass. That turns your tack into a speed bump. Instead, tuck them into corners, ideally where you plan to start or stop.
 Centered tacks matter too. If a tack droops to one side, it can pull the joint off line and make the weld favor that side later.
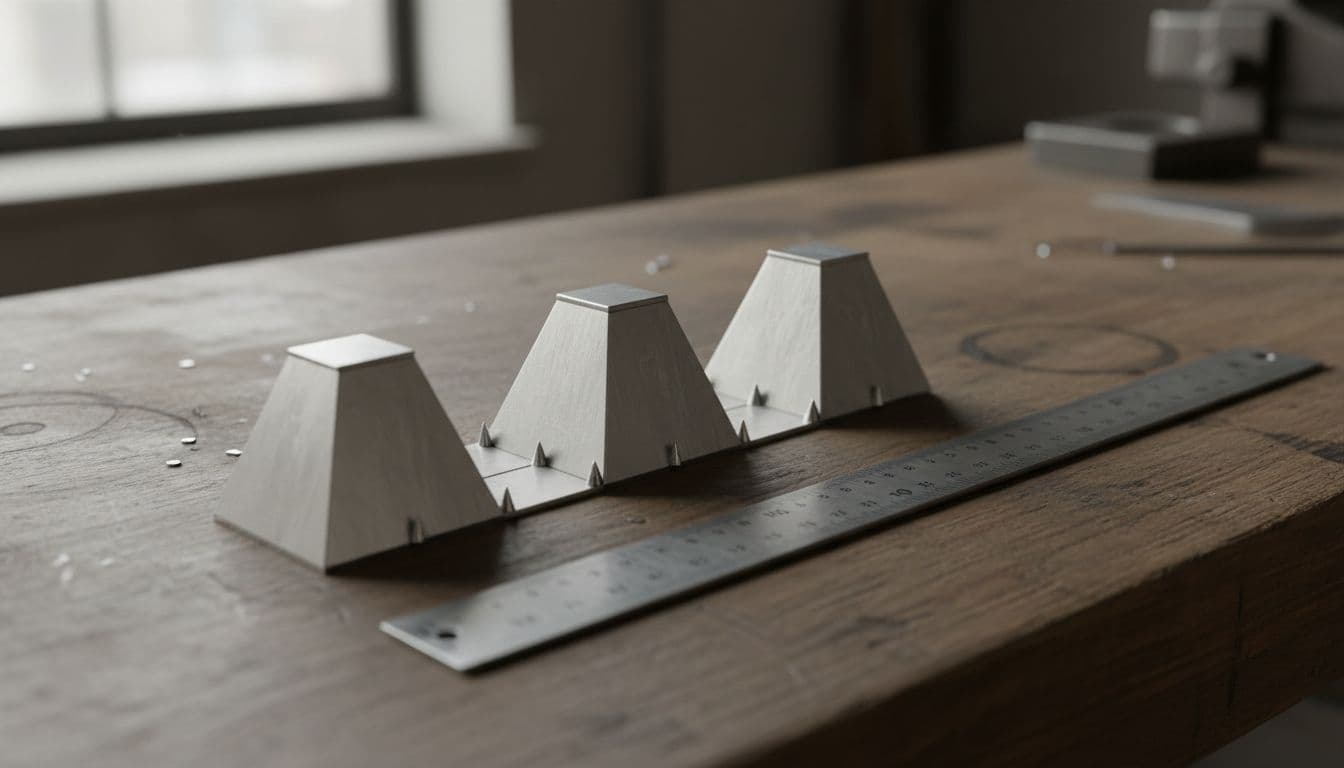
Building the base: three pyramids & check for straightness
The assembly approach is simple but picky. Tack three small pyramid sections, check straightness with a ruler, then use a light amount of filler to lock them in. Keeping tacks small and clean makes the final welds smoother.
Flip it, add the top, and keep the corners clean
After the base is straight, flip it and tack the top piece on the same way. Again, corners only, tucked away, with clean access for the torch.
Plan your weld direction to control heat on tapered edges
This project has tapered areas that get thin near the ends. If you weld toward those thin points, heat stacks up and the edge can overheat fast. Planning direction fixes that.
Heading away from corners and away from thin tips pushes heat into more material. As a bonus, it creates a cool look because many passes can start at the peak of a triangle.
With solid prep plus a plan, your welding becomes way more predictable. That's when the "control" feeling shows up and stays.
Tungsten tip setup: a tiny ball for stability, not a big blob
You'll see a ball on the tungsten tip, but it's small. That detail matters. A tiny ball gives some flexibility with the balance setting while keeping the tip stable, so it doesn't get misshapen. At the same time, it keeps the fine accuracy needed for precise starts.
Stability without losing point control
A giant balled tip can feel vague on starts. A small, controlled ball keeps the arc tight while still holding up under the heat.
Before you seal it up: add weep holes to prevent blowback
Once you've welded most of the project, you're close to sealing a compartment. If you close it completely without venting, trapped hot air can rush out through the last open seam. That's when you see blowback, the joint starts blowing open, and the puddle turns into a mess.
The simple fix is weep holes.
A weep hole is a small drilled hole placed in a smart, hidden spot. It lets hot air vent out while you finish welding, instead of forcing that pressure through your final weld area. These holes often go somewhere inconspicuous, like a spot that will sit on a tabletop.
Weep holes are common in real fabrication too. Bike frames often have them, including BMX frames.
If you've ever had a last seam "fight back" and spit porosity or blow open, you've seen exactly why weep holes matter.
Fillet passes, cooling between welds, and keeping the arc tight
After the outside corners, the project finishes with fillet welds that wrap everything up cleanly. The same rules still apply: stay close, watch the edges, and manage heat as you approach the end of each pass.
Cooling between passes helps a lot here. Letting the part chill keeps heat from stacking until everything turns mushy. A leaf blower or hair dryer on a cold setting can speed that cooldown, so you can keep moving while still protecting control.
Cooling pays off in two ways:
- Better heat control from pass to pass
- A more focused arc for that tight, precise puddle placement
What "good" looks like when it all comes together
When the prep is clean, the tacks are smart, and the direction is planned, the finished welds show it. Outside corners look consistent because the heat stayed under control. Fillets add contrast and make the whole piece look finished.
Even the tight inside area gets filled without dipping the tungsten and without turning into a crater. On top of that, weep holes keep the final closeout welds calm, with no blowback chaos at the end.
Look for these quality cues on your own practice pieces: consistent cleaning action, smooth blended edges, even "stepping" rhythm, and no lumps that hint at poor fusion.
Why this is the best scrap aluminum TIG exercise to practice
You don't need fancy parts to get better. Grab scrap, build the shape, and treat it like a real job. This one exercise trains accuracy, arc control, heat control, and planning, all at once.
If your TIG practice has felt boring or repetitive, this fixes that fast because every joint demands attention.
Conclusion
If you want better aluminum arc control, this exercise forces the habits that matter most: tight standoff distance, slow pedal starts, clean prep, and smart tack placement. Add weld-direction planning and weep holes, and the whole project gets calmer and more predictable. Most importantly, you'll feel your control improve because you're driving the puddle instead of chasing it. Build one from scrap, then build it again, and watch how quickly your weld consistency will improve.
Want more? My textbook is available with more foundational lessons and projects HERE
Fill & Chill
Dusty
Download your exclusive Beginner's Guide to Aluminum TIG Welding!
Enter your information below to receive exclusive PDF mini-textbook straight to your email.
We hate SPAM. We will never sell your information, for any reason.
