
How To TIG Weld: TIG Welding Tips That Fix Welds
If you’ve ever felt like TIG welding is messing with you, you’re not alone. One day your welds look clean and controlled. The next day everything overheats, the edges won’t blend, and the end of the weld turns into a puddle you can’t save.
Most people immediately blame machine settings. In my experience, that’s rarely the real issue.
These five TIG welding tips are the things that actually fix welds fast. They’re not textbook theory. They’re habits I’ve picked up from real shop work, and they’ll change your welds immediately if you apply them.
Why these TIG welding tips work right away
A lot of TIG instruction focuses on amperage charts and machine setup. That matters, but it’s not what controls the weld second-to-second.
What really matters is how you manage heat, filler, and movement as the part warms up. Almost nobody teaches this properly, which is why so many welders struggle with consistency, especially when TIG welding aluminum.
Once you understand these habits, your welds get smoother, edges blend better, and results stay consistent from start to finish.
Tip 1: Use filler rod as a heat control tool
Most welders treat filler rod like it’s only there to add metal. That’s a mistake. Filler is one of the best heat control tools you have.
When you’re TIG welding, especially aluminum, heat builds fast. If you don’t add enough filler, the base metal overheats. The puddle gets too fluid, travel speed changes, and things start smearing.
On the flip side, too much filler causes its own problems. The bead piles up, the edges stop blending, and penetration suffers. I call it “no blendy blendy” because that’s exactly what it looks like.
The goal is balanced reinforcement. Enough filler to stabilise the puddle and manage heat, but not so much that you’re stacking metal on top of the joint.
Every filler dab changes the weld shape. Pay attention to how much height you’re building with each step, especially near the end of the weld when everything is already hot.
Tip 2: Stop obsessing over amperage numbers
People love talking about amperage because it feels precise. The problem is the joint doesn’t care about your math. It cares about how much heat it’s seeing right now.
Amperage is never consistent through a weld. The start is cold and needs more heat to establish the puddle. As the part warms up, you need less. At the end, heat wants to run away if you don’t back off.
A simple approach I use is setting the machine about 15 to 20 amps higher than I think I’ll need. That gives me headroom to get established quickly. From there, the foot pedal does the real work.
Get it hot early, then ease off as the weld progresses. Your hands and timing matter way more than chasing one perfect number on the panel.
Tip 3: Fix your hand and arm position
TIG welding shows every little movement. If your setup is shaky, your weld will show it.
A common mistake is planting only your hand. It feels steady at first, but your range of motion is short. Once you hit the end of that range, you’re forced to reset, and that’s when arc length and bead spacing go downhill.
I teach planting the arm and pivoting from the mid-forearm. That gives you a longer, smoother travel zone and far better control.
Sliding your hand along the table sounds stable, but it usually adds randomness. You catch on clamps, edges, or table corners, and that jitter shows up in the bead.
Tip 4: The first inch decides everything
The first inch of the weld sets the tone for the entire pass. If the start is messy, you spend the rest of the weld trying to recover. If the start is clean, the rest feels easy.
That means getting into the heat properly and establishing filler early. A lot of people spark up, see a puddle, and rush off. The base metal is still cold, and the puddle behaviour is changing fast.
Slow down just enough to lock in puddle size, reinforcement, and heat control in that first inch. Once that’s set, the rest of the weld is just managing it.
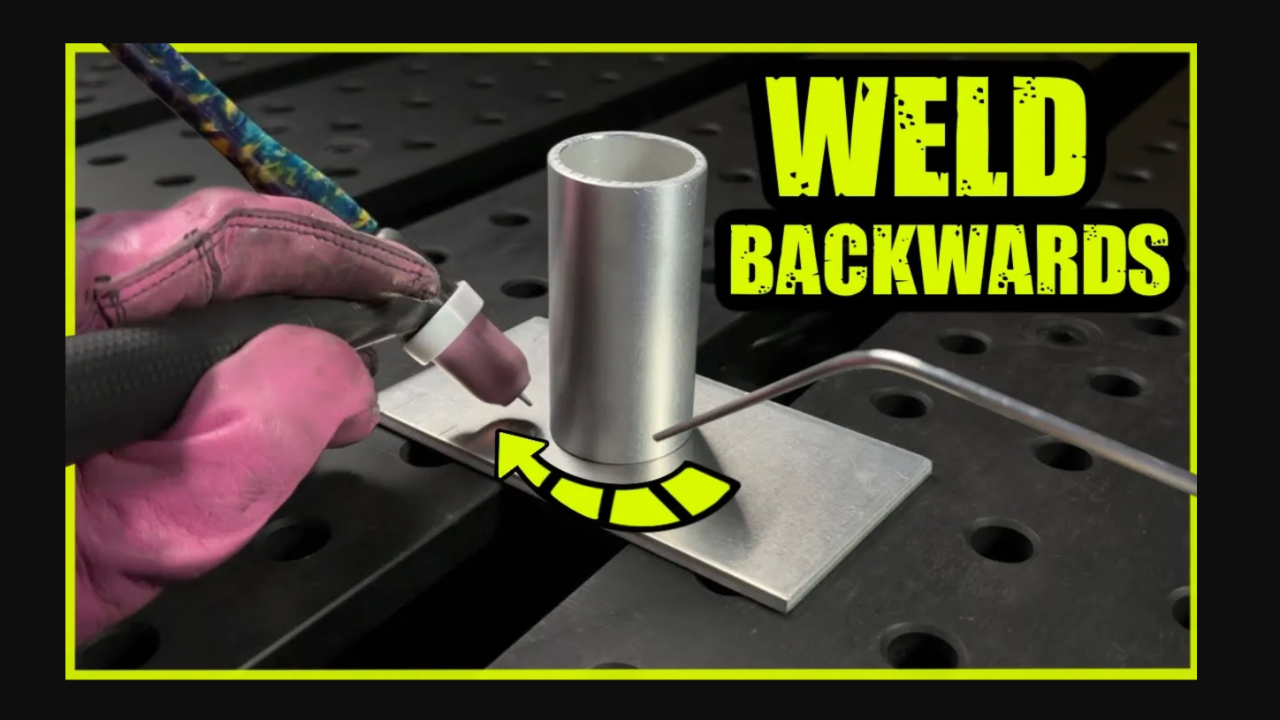
Tip 5: Plan weld direction to manage heat
Good welders plan direction before striking an arc. This matters more than most people realize.
Welding toward open corners and outside edges concentrates heat and increases the chance of overheating. When possible, weld away from those edges.
If there are passes that tend to get hot fast, do them earlier before the part heat soaks. Simple direction planning can clean up a weld more than adjusting settings ever will.
Final thoughts
Cleaner TIG welds don’t come from better gear. They come from better habits. Treat filler as a tool, stop chasing one amperage number, support your arm properly, lock in the first inch, and plan weld direction to control heat.
Try these changes on your next practice piece and pay attention to how the puddle behaves from start to finish.
Watch the full YouTube breakdown here and see everything demonstrated in real time:
How to TIG Weld Like a Machine - 5 Pro Tips In 5 Minutes
- Dusty
Download your exclusive Beginner's Guide to Aluminum TIG Welding!
Enter your information below to receive exclusive PDF mini-textbook straight to your email.
We hate SPAM. We will never sell your information, for any reason.
