
How To TIG Weld: TIG Filler Rod Feeding Tips
One of the fastest ways to ruin an otherwise good TIG weld is feeding the filler rod in the wrong spot. It’s a small detail, but it causes a chain reaction of problems that most welders don’t even realize they’re creating!
I see this mistake all the time, especially with people who are trying to clean up their welds but keep fighting contamination, messy puddles, or tungsten contact. The fix is simple once you understand what’s actually happening.
Why filler rod placement matters more than you think
Where you feed the filler rod directly affects your arc length, standoff distance, and overall puddle control. Feed it in the wrong spot and you’re forced to compensate without realizing you're doing it.
Most people focus on machine settings when this happens. In reality, this is a technique issue, not a settings issue.
If you feed filler into the wrong area of the puddle, you end up pulling the torch back, losing arc stability, and dramatically increasing the chance of touching the electrode. That’s when everything turns into a mess fast.
Feeding filler into the center of the puddle
A very common mistake is feeding the filler rod straight into the center of the puddle.
When you do this, the filler physically pushes the arc away. To compensate, you instinctively pull back your standoff distance or arc length (whatever you prefer to call it). That longer arc becomes unstable and increases your chances of contaminating the tungsten.
Once that happens, the weld quality drops immediately. The puddle gets sloppy, the arc wanders, and you’re fighting the weld instead of controlling it.
This is one of those habits that feels harmless until you realize how many problems it causes downstream.
Feeding too close to the leading edge
The other mistake I see constantly is feeding filler too close to the leading edge of the puddle.
This is especially bad when TIG welding stainless steel. The filler rod has a habit of sticking to the puddle and getting dragged along. Anyone who welds stainless regularly has dealt with this, and it’s incredibly frustrating.
Instead of smoothly breaking off into the weld pool, the filler hangs up, pulls material out of shape, or sticks and snaps unpredictably. It interrupts your rhythm and ruins consistency.
On aluminum, this mistake shows up differently. You’ll often see the tip of the filler rod getting blown off. It turns ugly, oxidized, and contaminated almost instantly. That contaminated tip then goes straight back into the puddle if you’re not paying attention.
The real problem behind both mistakes
Both of these errors come from the same root issue. Poor filler placement forces you to change arc length and torch position in ways you didn’t plan.
The moment you start adjusting your torch to accommodate bad filler placement, control starts disappearing. Arc stability drops, heat control suffers, and the weld stops behaving predictably.
That’s why this matters so much. It’s not just about where the filler goes. It’s about everything that changes when it goes in the wrong place.
The sweet spot that fixes everything
The fix is feeding the filler rod into what I call the "sweet spot":
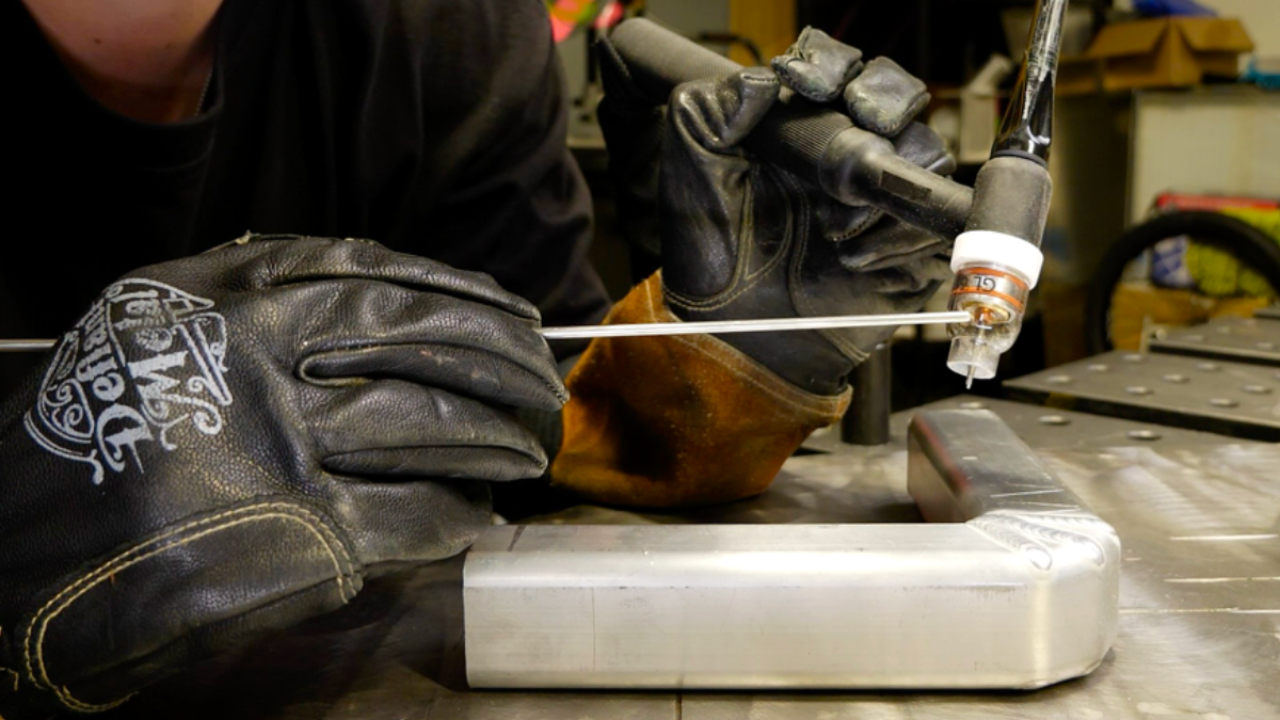
Keep your standoff distance nice and tight. Don’t pull the torch back to make room for the filler. Instead, feed the filler just off the leading edge of the puddle, into the area where the molten metal is ready to accept it.
When you do this, the filler breaks off cleanly into the weld pool. There’s no sticking, no blowing off the tip, and no need to adjust your arc length.
Everything stays stable. The arc stays tight. The puddle stays predictable.
Once you feel this working properly, the difference is immediate.
Why this works on both aluminum and stainless
This technique solves problems on both materials for the same reason: You’re no longer forcing the filler into the arc or into unstable parts of the puddle.
On stainless, the filler stops sticking and dragging. On aluminum, the filler tip stays clean and doesn’t oxidize or blow apart. In both cases control will improve instantly.
This is one of those small adjustments that cleans up multiple problems at once.
Final thoughts
Feeding filler rod correctly is a simple skill that pays off fast. Avoid the center of the puddle. Avoid feeding too far forward. Keep your arc tight and feed into the sweet spot where the puddle is ready to accept the filler.
If you want cleaner welds, better control, and fewer frustrating mistakes, this habit matters more than most people realize.
I break this kind of detail down step-by-step inside my programs, because these are the things that actually make TIG welding easier when you’re on the bench.
Watch the Instagram reel that sparked this breakdown HERE
Try it on your next weld and pay attention to how much calmer the puddle feels when the filler goes where it should - game changer!
- Dusty
Download your exclusive Beginner's Guide to Aluminum TIG Welding!
Enter your information below to receive exclusive PDF mini-textbook straight to your email.
We hate SPAM. We will never sell your information, for any reason.
