
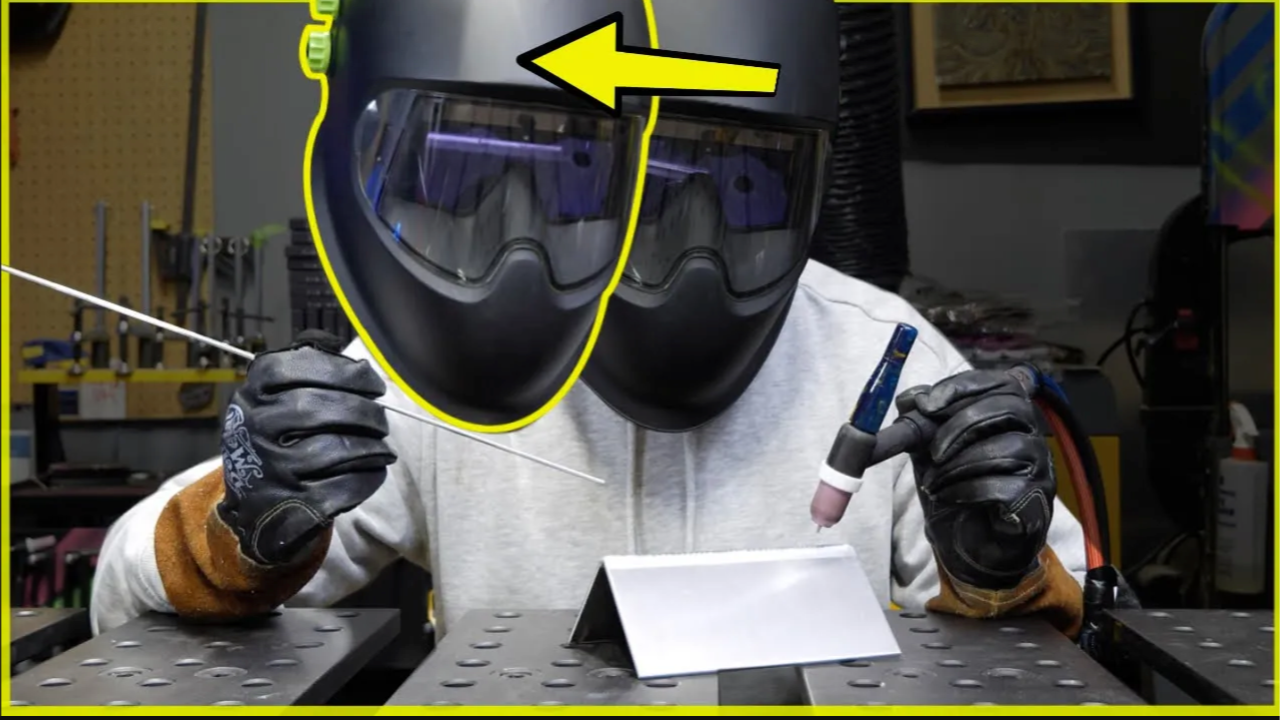
How To TIG Weld: Head Positioning
TIG Welding Head Position: The Simple Setup Fix That Makes TIG Easier
If your TIG weld looks clean for the first inch and then starts falling apart, your hands might not be the real issue...most of the time, it’s your head position.
This is one of those TIG welding technique adjustments that feels small but changes everything. When you reposition your head correctly, the puddle becomes easier to see, filler timing improves, and your weld consistency stays steady from start to finish.
The idea is simple:
Stop setting up to see the start perfectly.
Set up so you can see the end clearly.
The Common TIG Setup That Makes Welding Harder
A lot of welders naturally centre their body on the starting point of the weld. It feels comfortable. Your torch and filler have space. The joint looks clear. However, the problems start to show up as soon as you move.
When you’re square to the start of the pass, you’re basically looking across the weld path at a 90-degree angle. As you travel forward, your view drifts away from you. Your hands start blocking your sightline. Your posture tightens and the weld starts to falter. The weld doesn’t suddenly get harder, your perspective is getting worse. That’s why so many TIG welds look good at the beginning and inconsistent halfway through.
Why It Feels and Looks Good at First
At the start, your head is positioned perfectly: everything looks sharp and the puddle is easy to track. Unfortunately that comfort only lasts for the first few seconds.
As soon as you move down the joint, the angle changes. Your line of sight fades. You compensate by bending awkwardly, shifting your shoulders, or adjusting your wrist.
That mid-pass struggle isn’t a skill problem. It’s a setup problem.
The Fix: Set Up Near the End of the Pass
Instead of positioning your head near the starting point, move your upper body closer to where you plan to finish: everything flips.
You begin with the puddle slightly farther away, but as you travel, your view improves, your body stays stable and your sightline stays strong all the way to the finish.
A good rule for TIG welding head position is to angle yourself more along the direction of travel, often around 45 degrees. You want to look down the path, not across it.
Doing this results in two important factors for successful passes:
-
Keeping the leading edge of the puddle visible
-
Reducing how often your hands block your view
When you can see clearly near the end of the pass, your weld quality stays consistent.
The Football Analogy That Makes It Obvious
Think of it like throwing a football.
If a receiver starts running and you throw the ball to where he was, it’s a bad throw.
That’s what happens when you set up your TIG welding head position for the start only. You’re welding toward a moving target but looking at where it began.
The smarter move is throwing to where the receiver will end up.
In TIG welding terms, set your vision for the finish line. As you travel, everything lines up naturally.
What Improves Immediately
When your head position supports the entire weld pass, here is what improves quickly:
1. Better Puddle Control
The leading edge of the puddle is where TIG welding control lives. That’s where you time filler, manage heat input, and maintain travel speed.
If you lose sight of it, filler rhythm gets sloppy and bead shape changes.
With a forward-looking setup, the leading edge stays visible longer.
2. More Consistent Filler Placement
Good TIG welding technique depends on clean filler additions. When you can clearly see where the puddle is moving, filler rod timing becomes smoother and less stressful.
This is huge for beginners learning TIG welding. It removes panic from the middle of the pass.
3. Straighter Welds on Scribe Lines
Practicing with scribe lines is one of the best ways to improve TIG weld consistency.
But if your view is distorted or blocked, the line disappears behind your hands.
When your head position looks down the weld path, that scribe line stays visible, making it easier to keep a straight bead.
Why This Matters More on Fillets and Outside Corners
On flat plate, you might get away with poor head position. On fillet welds and outside corners, you won’t be that lucky.
These joints already limit visibility. If your head setup is wrong, your sightline collapses halfway through, your hands tighten and your weld quality inevitably drops.
If your weld looks great at the start and messy at the finish, treat it as a setup issue first - not a talent issue!
Quick Reset Before Your Next Weld
Before striking an arc, try this:
-
Pick your exact end point.
-
Move your head closer to that end.
-
Angle yourself more along the direction of travel.
-
Do a quick dry run to check visibility.
-
Weld and notice how your view improves as you approach the finish.
That small change can dramatically improve TIG welding control and weld consistency.
Final Thoughts
Better TIG welding isn’t always about more amps, better machines, or new gear.
Sometimes it’s just about seeing properly.
Adjust your TIG welding head position so your vision supports the full weld, not just the first inch. When you can clearly track the puddle from start to finish, control becomes easier and results stay consistent.
If you want the full visual explanation, including demonstrations of head angle and sightline, watch the complete YouTube lesson linked below!
And if you’re ready to take your TIG welding technique further, that’s exactly what I teach inside my programs.
Fill and chill!
Download your exclusive Beginner's Guide to Aluminum TIG Welding!
Enter your information below to receive exclusive PDF mini-textbook straight to your email.
We hate SPAM. We will never sell your information, for any reason.
