
How To Ball Your Tungsten for Aluminum TIG
How To Ball Your Tungsten for Aluminum TIG Welding (The Right Way)
If you've ever read a welder manual, you've probably seen the warning: don't ball your tungsten. Most machines tell you the same thing. So why do experienced TIG welders do it anyway, and more importantly, how do you do it without creating a sloppy, oversized mess on the end of your electrode?
The answer is in the method. Done right, balling your tungsten for aluminum TIG welding gives you arc stability and precision at the same time. Here's exactly how it works:
Why balling tungsten gets a bad reputation
The reason manuals tell you to avoid it is simple: most people ball their tungsten the wrong way. They skip the prep steps, hit the arc, and end up with a giant blob on the end of the electrode that wanders, flickers, and produces inconsistent cleaning action.
A big, uncontrolled ball is genuinely bad for your weld. It makes arc starts unpredictable, reduces your focus, and can cause the tip to reshape mid-weld. So the concern isn't wrong but the method is the problem.
Done with the right prep and the right process, a tiny controlled ball is a completely different story.
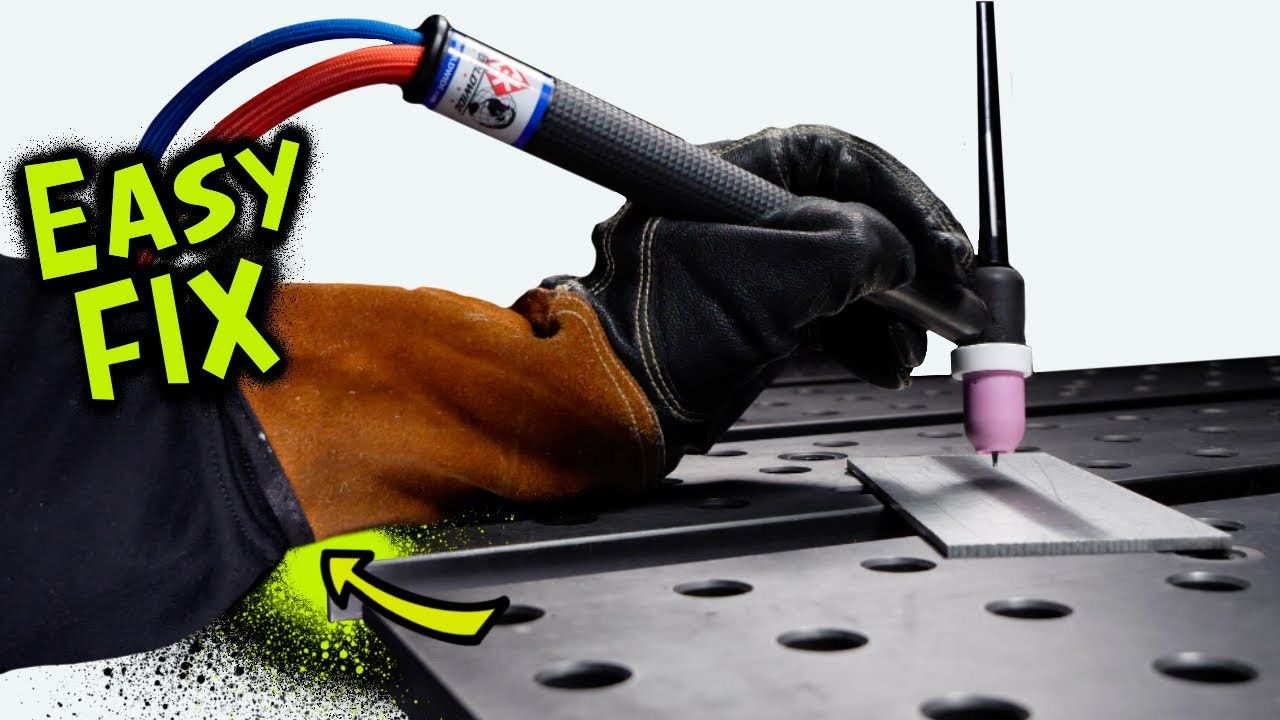
Step 1: grind the tungsten to a taper first
Before you touch the arc or flip any settings, grind the tip of your tungsten down to a taper. The length of that taper should be roughly two times the diameter of the tungsten itself.
This step is what most people skip and it's the most important one. Tapering first is what allows you to keep the final ball size smaller than the diameter of the tungsten. That's the goal. Without the taper, the ball becomes too large and loses its accuracy.
Once the taper is ground, leave a tiny flat spot on the very end. That small detail sets up the balling process perfectly.
Step 2: reverse polarity and use minimal amperage
Once the tungsten is prepped, switch your machine to DC negative and reverse the polarity. This is what actually balls the tip up in a controlled way.
From here, use the tiniest amount of amperage possible. You're not trying to weld anything yet, you're just coaxing the tip into forming a small, stable ball. Watch it carefully as it forms. You'll see it happen gradually, which is exactly what you want.
Patience here pays off. The slower and more controlled this step, the better the result.
What the finished tungsten should look like
When you pull the tungsten back and take a look, the ball should be absolutely tiny, not a giant blob and not an oversized dome. Because you tapered the tungsten beforehand, the ball stays smaller than the diameter of the tungsten itself.
That small size is doing two things for you at once:
- Stability — the ball can handle some inaccuracy in your balance setting without misshaping or fluttering mid-weld
- Precision — because it's tiny, the arc still has the focus and accuracy you need for clean, controlled aluminum TIG work
That's the best of both worlds. The stability of a balled tip, with the accuracy of a pointed one.
Why this matters on aluminum
Aluminum TIG welding already demands a lot from your setup. The cleaning action, the balance settings, the heat input...everything needs to be dialled in. A poorly prepped tungsten adds one more variable you don't need.
When your electrode is prepped this way, arc starts become more predictable, the puddle forms cleanly from the first second, and your balance setting has a little more room to breathe without causing problems.
It's a small prep step that makes the whole weld feel more controlled from start to finish.
Quick recap: the controlled tungsten ball method
- Grind a taper: length roughly 2x the tungsten diameter
- Leave a tiny flat spot on the end
- Switch to DC negative and reverse polarity
- Use minimal amperage to slowly ball the tip
- Check the result: the ball should be smaller than the tungsten diameter
Five steps, and your tungsten is prepped for stable, precise aluminum TIG welding.
Final thoughts
The rule "don't ball your tungsten" exists because most people skip the prep and end up with a mess. But when you taper first, control the amperage, and keep the ball tiny, you get a setup that actually performs better on aluminum.
Arc stability. Precision. Consistent starts. All from a two-minute prep step before you even strike an arc.
If you want to see the full visual breakdown of this technique in action, check out the short video linked below and it will make the whole process click instantly.
If you're ready to take your aluminum TIG welding to the next level, that's exactly what I break down inside my programs.
Fill & Chill
Dusty
Download your exclusive Beginner's Guide to Aluminum TIG Welding!
Enter your information below to receive exclusive PDF mini-textbook straight to your email.
We hate SPAM. We will never sell your information, for any reason.
